
Installing on a shared laptop
One laptop, two people. If you and your child use the same computer, you should each have your own Windows account, and your child’s account should not be an administrator. Then 3Eyes is a two-step job: install it once on your account, and drag your child’s account into the monitored column. Your sign-in stays exactly as it is; theirs is filtered.
Why two accounts? 3Eyes filters by Windows account, not by laptop. A separate account for your child is what lets you browse freely on your sign-in while theirs is protected. And if your child is an administrator, they can change or remove anything on the computer, including 3Eyes, so make their account a standard user.
Before you start: one account each
Open Settings → Accounts → Family & other users and check that your child has their own sign-in. If they have been using yours, add one now. It takes a minute, and we have a step-by-step guide: Create a Windows user account for your child.
- Your account must be an administrator. That is what lets you install 3Eyes and change its settings.
- Your child’s account should be a standard user. If it says “Administrator” under their name, click the account, choose Change account type and set it to Standard User.
- Give your own account a password. Otherwise your child can simply sign in as you.
1. Install 3Eyes on your account
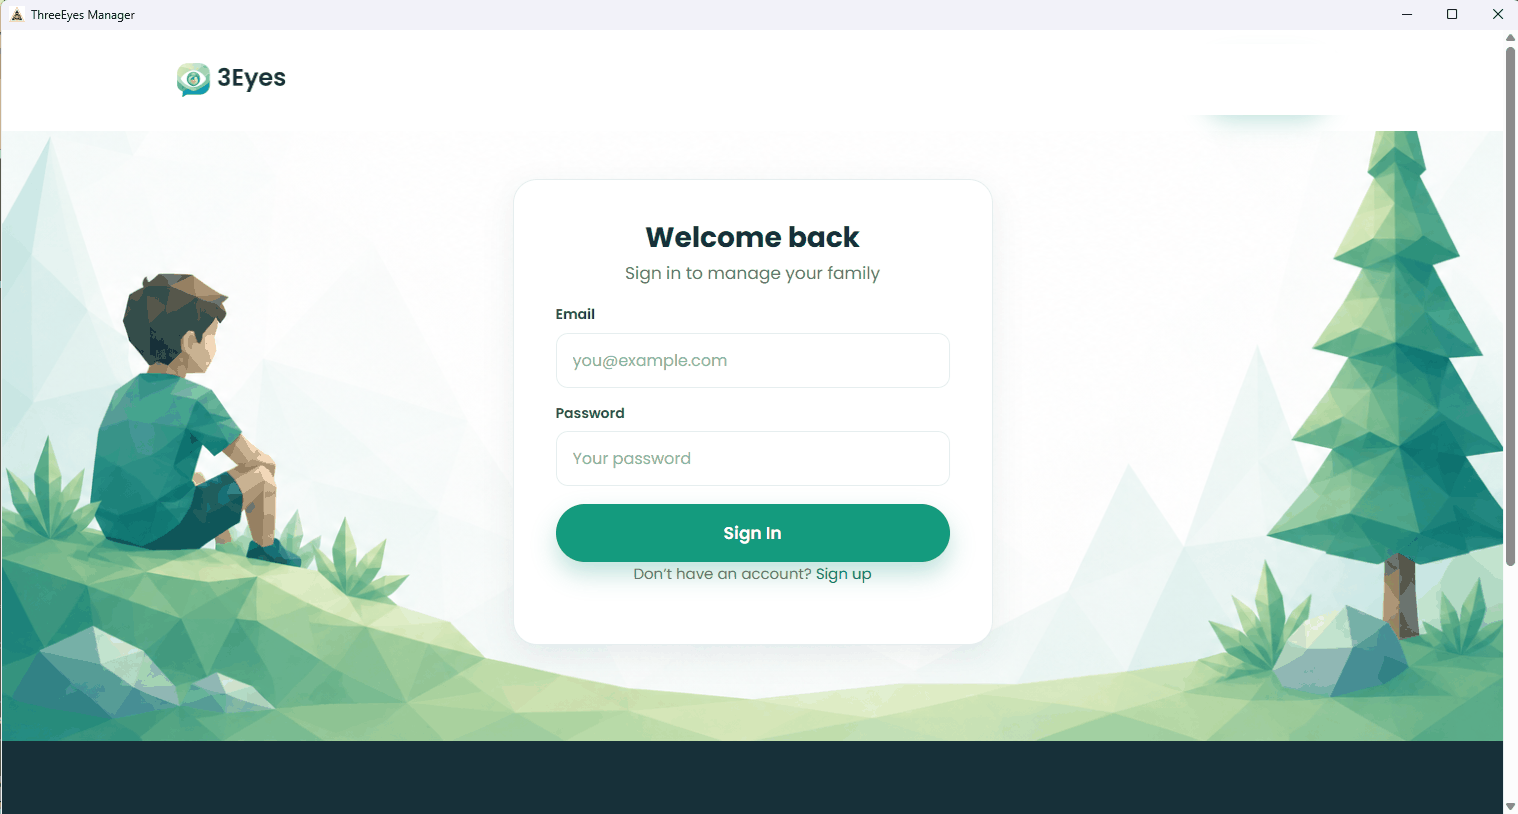
Sign in to Windows as yourself, download 3Eyes from the download page and run the installer. Accept the defaults, click Yes when Windows asks whether the app can make changes, then sign in to the 3Eyes Manager with your 3eyes.app email and password. You only ever install it once, on your account; there is nothing to install on your child’s side.
If you would like every installer screen explained, see Windows install steps.
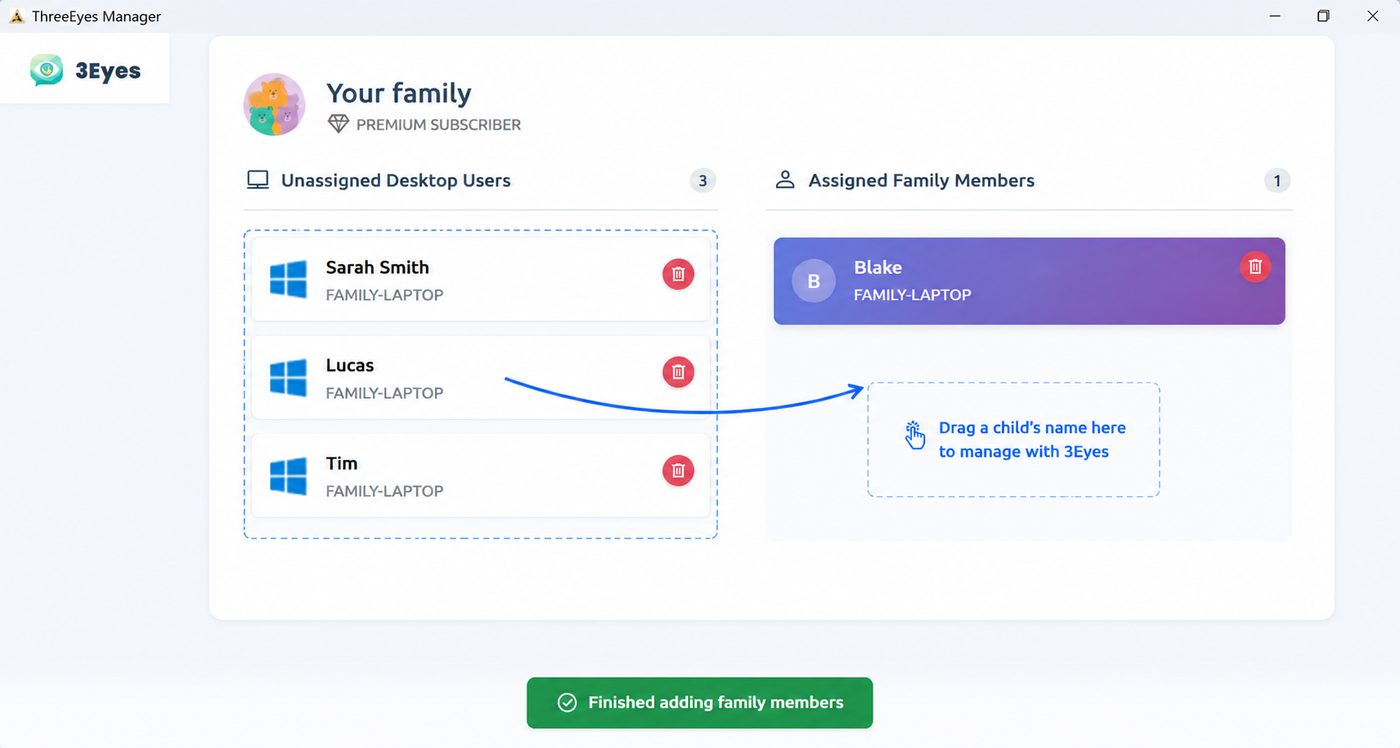
2. Drag your child’s account into the monitored column
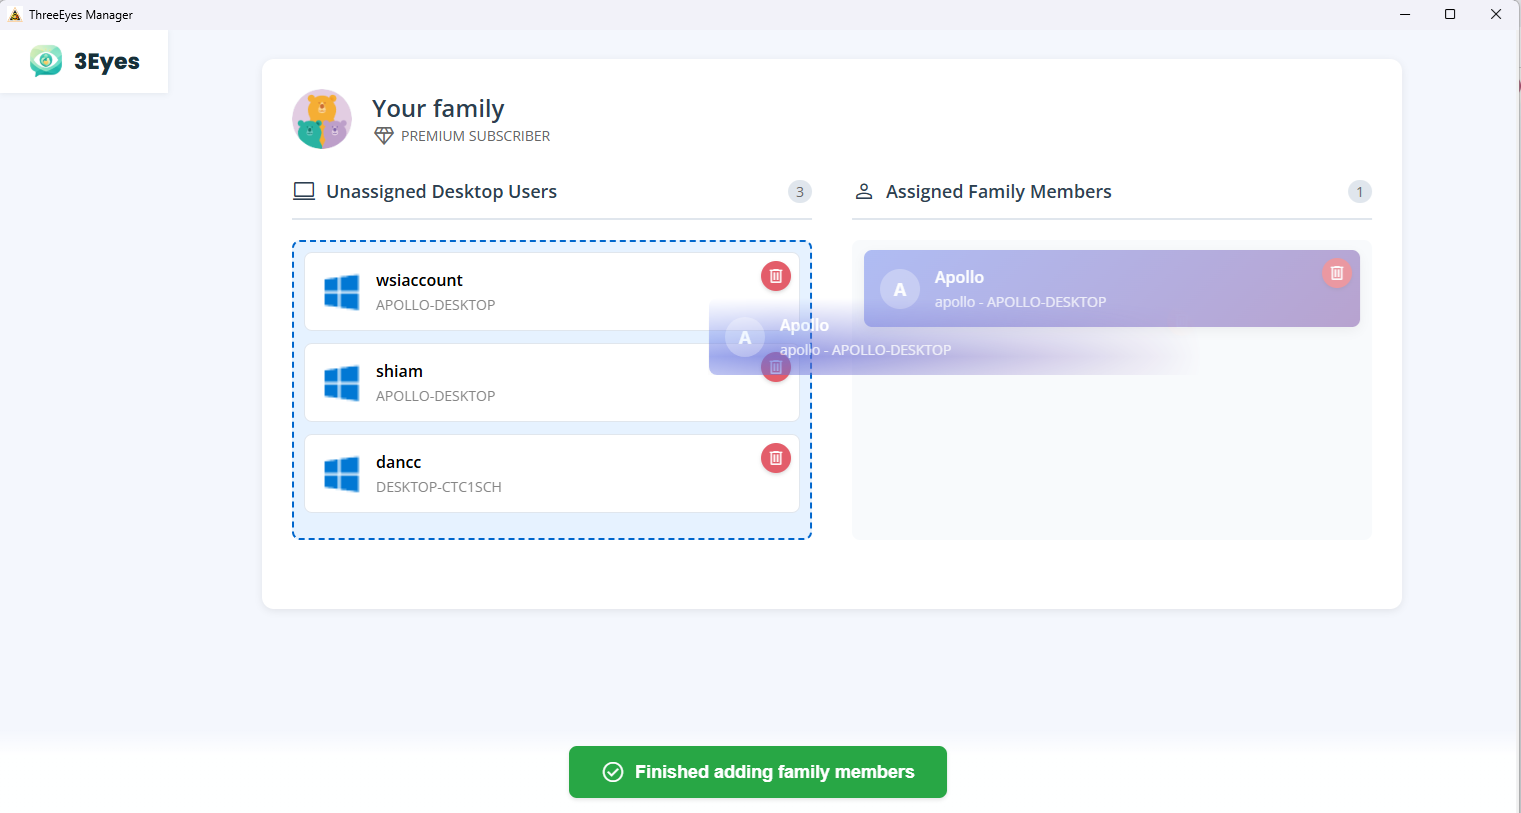
The Manager lists every Windows account on the laptop in the left column, Unassigned Desktop Users. Find your child’s name and drag it into the monitored column on the right, Assigned Family Members. That’s it, you’re done. Your own account stays on the left and is never filtered.
What your child sees when they sign in
Now when your child logs in to their account on the same laptop, they can only visit the websites you approve. To get them started, 3Eyes allows a set of useful sites by default, such as Google, Wikipedia, Bing and NASA. Anything else shows a page that lets them ask you for it.
You get an alert on your phone whenever your child asks for a website or for more screen time. Approve or decline with a tap, from wherever you are; you don’t have to be at the laptop, and you don’t have to sign out of their account to do it.
YouTube.com opens a 3Eyes version of YouTube that shows only channels you approve. We add some science channels by default; remove any you don’t want and add your own. There is no way for your child to reach the rest of YouTube from that account.
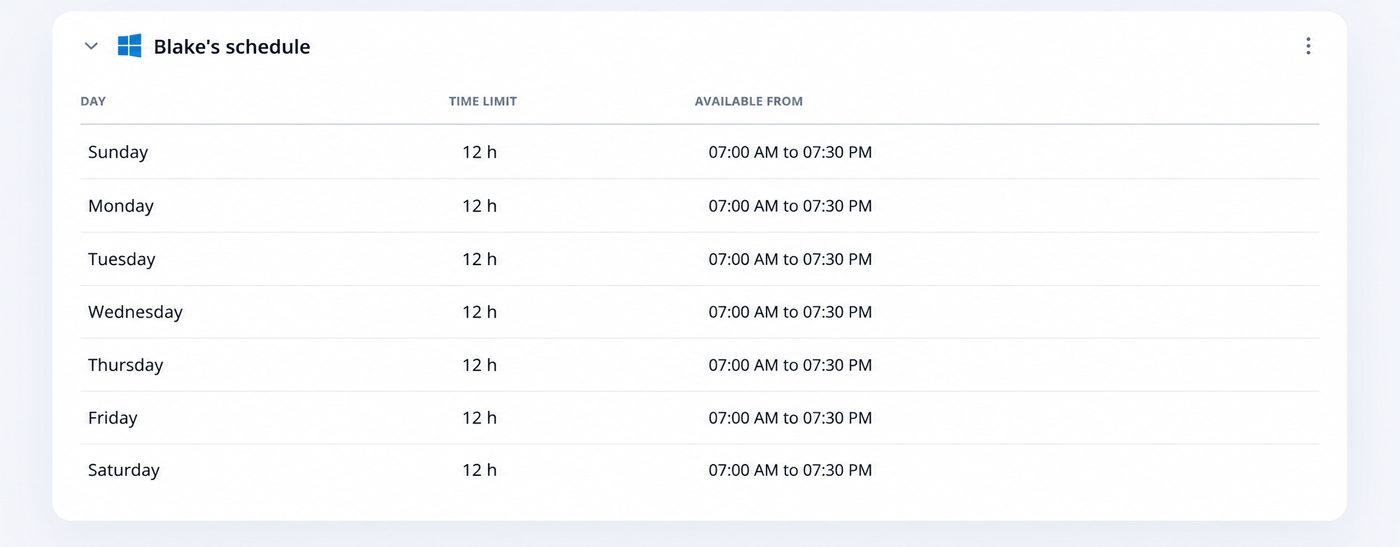
You can also set screen-time limits for their account, and the limits only apply to them. When the time is up they can ask for more, and that request comes to your phone like a website request.
What does not change
- Your account is untouched. No filtering, no limits, no 3Eyes page in your browser.
- Nothing to install twice. One install on your account covers every account you drag across.
- Switching users is enough. You don’t need to sign out of 3Eyes or lock anything. When your child signs in to their account, the filter is already running.
- More than one child? Drag each of their accounts across. Every one gets its own allowed list and screen time.
Common questions
My child already knows my Windows password. Change it. Everything here depends on your sign-in staying yours.
Can my child just switch back to my account? Only if your account has no password, or they know it. With a password set, they can see your name on the sign-in screen but cannot get in.
Can they uninstall 3Eyes from their account? No. Uninstalling needs an administrator, which is why their account must be a standard user.
Does this work on a Mac? Yes, the same idea: one macOS account each, install on yours, choose theirs to protect. See Mac install steps.