
Windows install steps
A seven-step walkthrough of installing 3Eyes on Windows. Run the installer, accept a few defaults, sign in, then drag your child from the left column to the right. Everything after that runs quietly in the background whenever your child is signed in.
Before you start. This takes about two minutes and needs a Windows administrator sign-in. Install on the computer your child uses, and have your 3Eyes parent account details handy.
1. Choose where to install
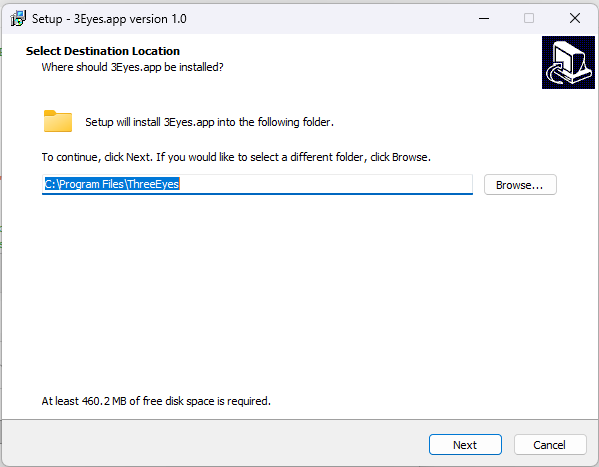
The installer proposes C:\Program Files\ThreeEyes. Accept the default folder and click Next. There is almost never a reason to change this: Windows already trusts that folder, and the other 3Eyes pieces (the background service, the child app, the chat client) expect to find each other there. Only change it if you deliberately keep programs on a second drive.
- Needs about 460 MB of free disk space.
- You must be signed in as an administrator to install to Program Files.
2. Add a desktop shortcut
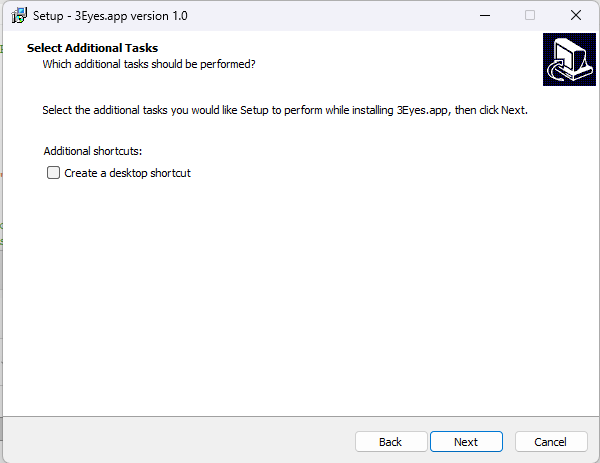
Tick Create a desktop shortcut if you would like an icon, then click Next. This is optional. If you skip it you can still open 3Eyes from the Start menu, but most parents keep the desktop icon so the family dashboard is easy to find.
3. Review and install
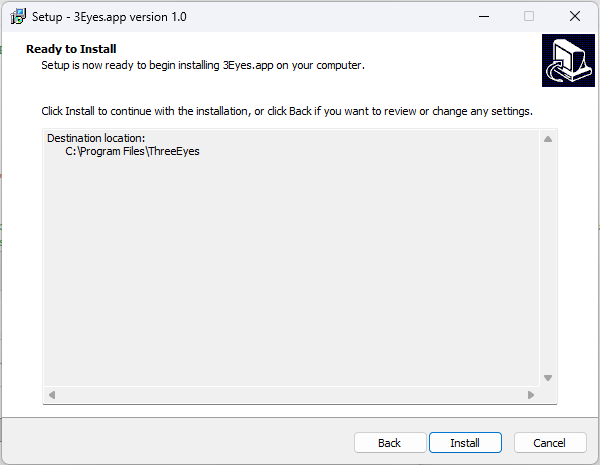
The installer shows the choices you just made. Nothing has been written to your computer yet, so this is the last chance to click Back and change something. When you are happy, click Install.
Windows may ask “Do you want to allow this app to make changes?” Click Yes. 3Eyes needs administrator rights to install a background service, which is how it keeps working after you close the window.
The install takes about a minute. When it finishes, the 3Eyes Manager window opens automatically.
4. Sign in as the parent
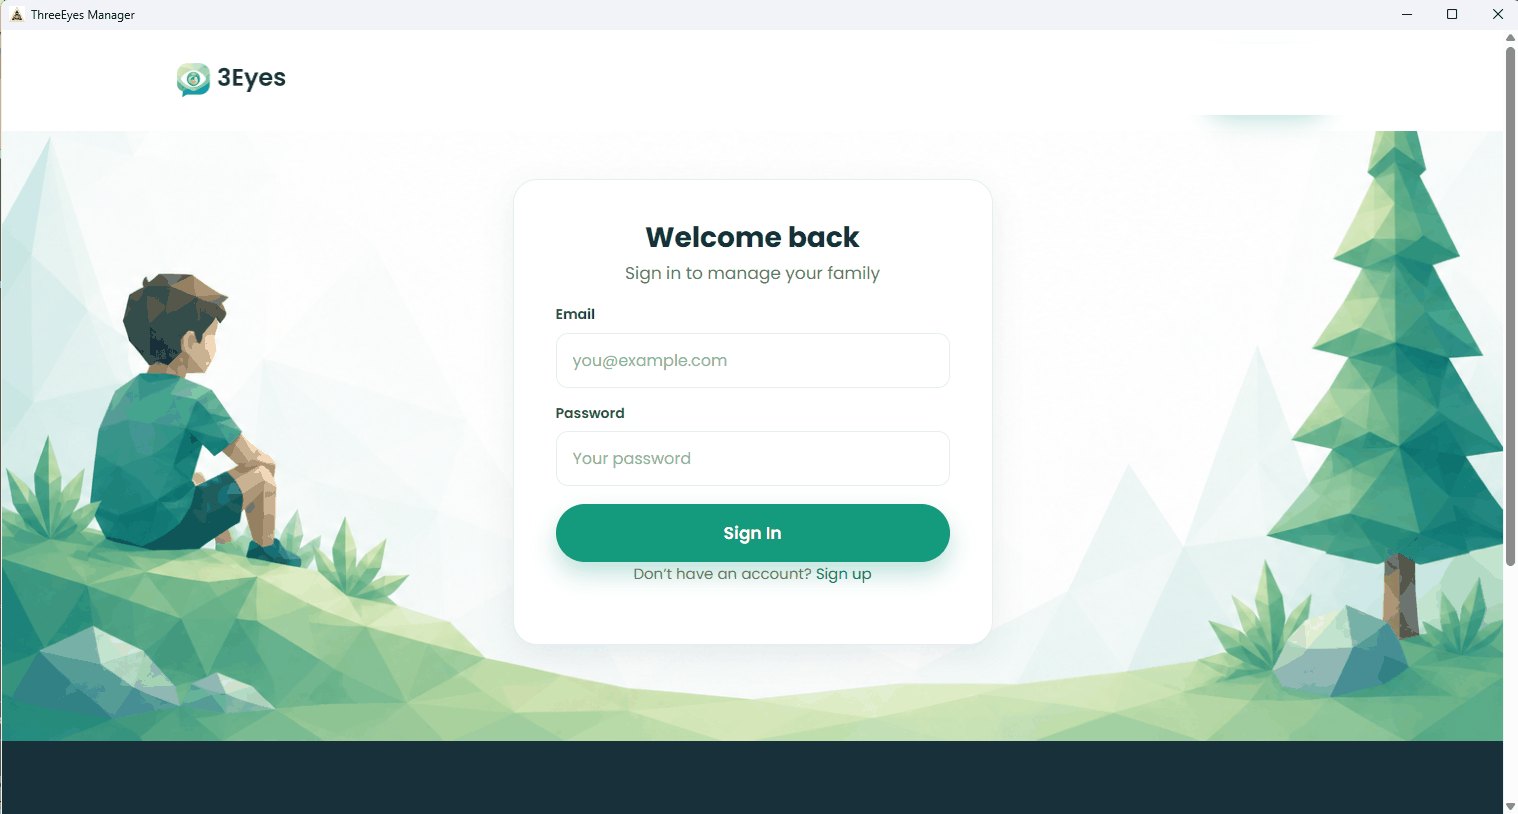
Enter the email and password you used at 3eyes.app. This is your parent account, the one that gets alerts, sets limits and approves requests. It is not your child’s account.
Don’t have an account yet? Click Sign up under the button and create one now, then come back here to sign in. Tick remember me the first time: 3Eyes only needs the parent to sign in once per device.
5. Find your child’s account
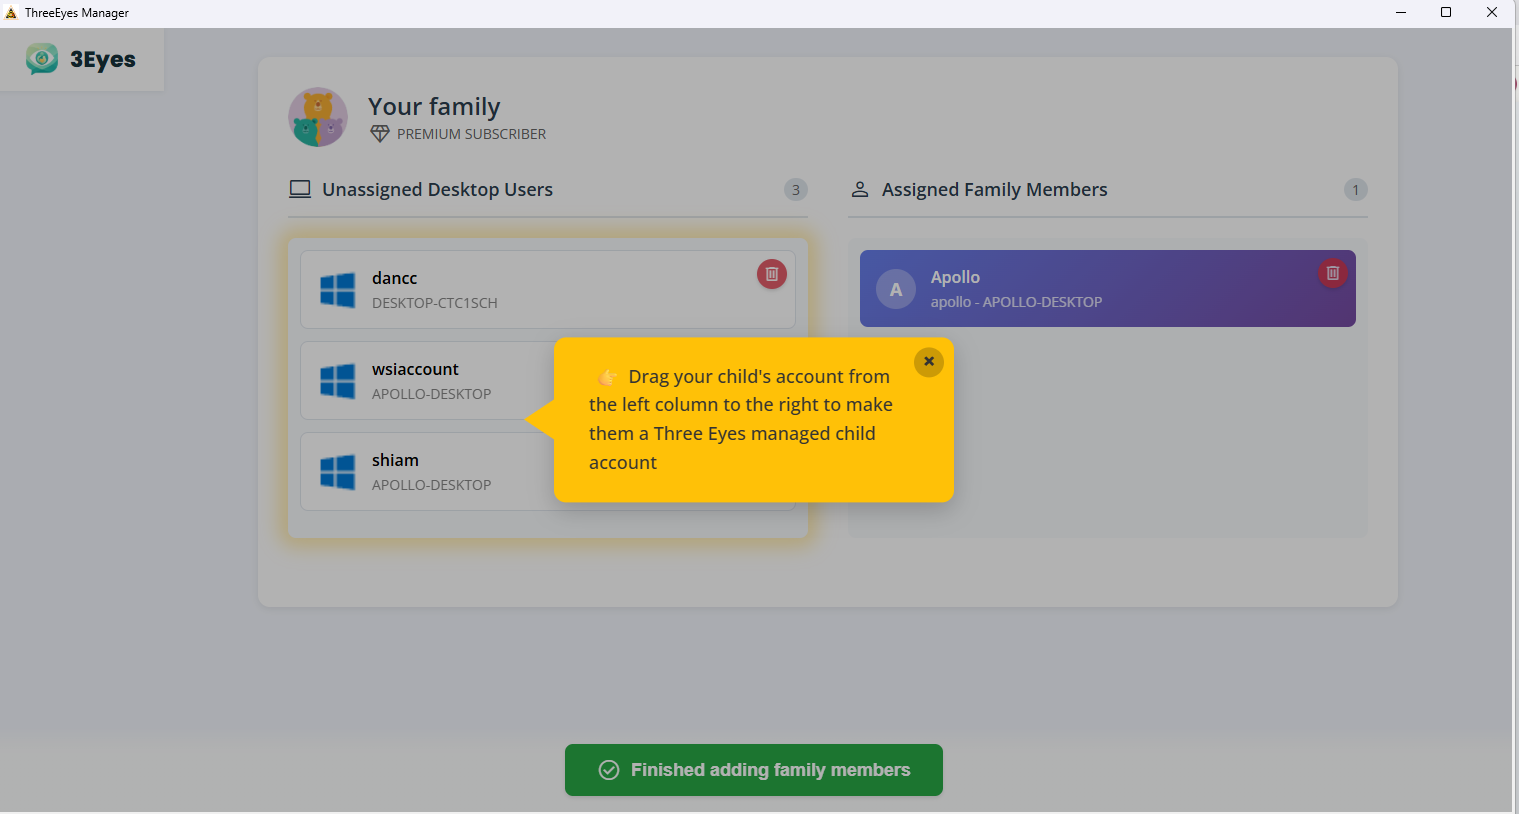
3Eyes scans the computer for local Windows accounts. The left column, Unassigned Desktop Users, is everyone Windows knows about that 3Eyes isn’t watching yet. The right column, Assigned Family Members, is people already paired with your parent account, whether from the web dashboard or a previous install.
Don’t see your child’s Windows account? They probably don’t have one yet. Create it first (see Create a Windows user account), then reopen this page.
6. Drag them across
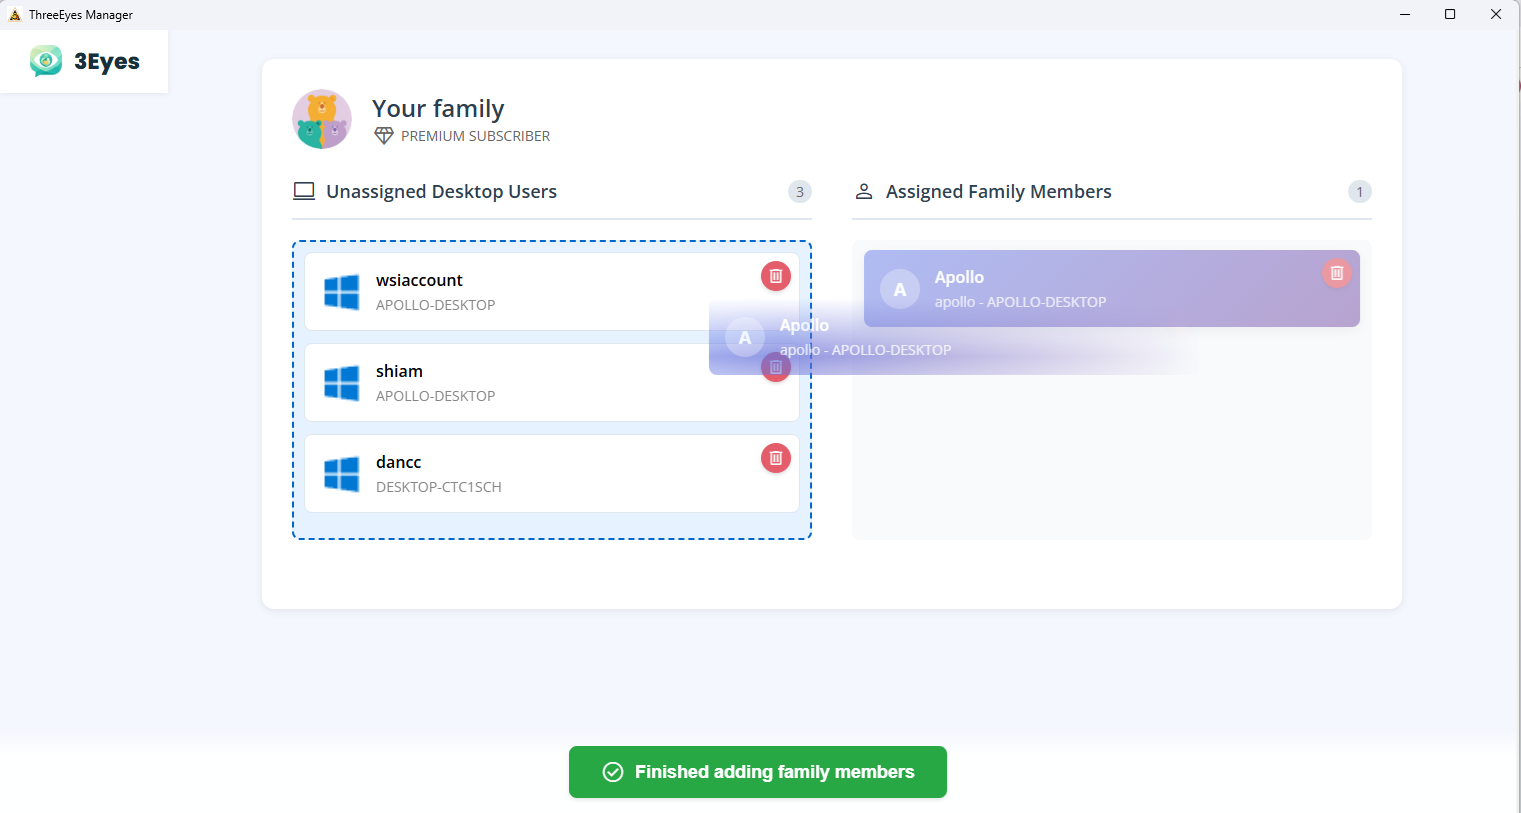
Grab your child’s card on the left and drop it on the right. The drop target lights up as you drag. Release the mouse and the two accounts are paired, so from then on that Windows sign-in belongs to that person in your family dashboard.
Repeat for each child. If you drop the wrong one, use the small trash icon on the card to unassign it. When everyone you want to monitor sits on the right, click the green Finished adding family members button at the bottom.
7. You’re protected
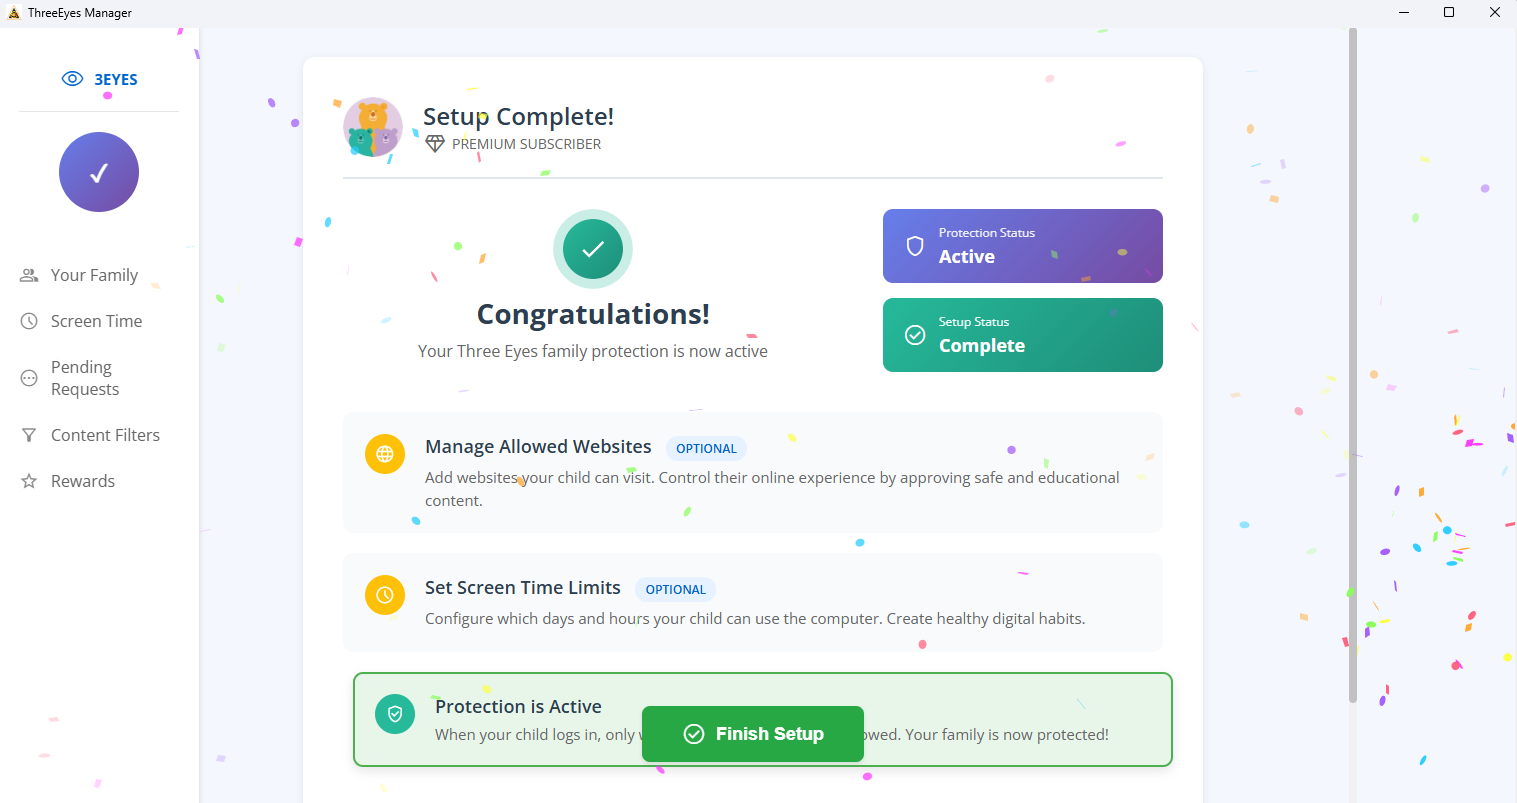
That is the whole setup. The two chips on the right, Protection Status Active and Setup Complete, mean the background service is running and your assigned children will be monitored the next time they sign in.
The two optional boxes below, Manage Allowed Websites and Set Screen Time Limits, can be skipped for now. 3Eyes ships with sensible defaults and you can adjust either from the left sidebar at any time. Click Finish Setup to close the wizard and land on the main dashboard.
Next up: have your child sign out of Windows and sign back in as their own account. 3Eyes takes over from the login screen, with no extra steps for them.
Once, then forgotten
You won’t see any of these screens again on this PC. The installer only runs on first install, the sign-in remembers your parent account, and the family assignment persists. From here it is just the dashboard, quietly showing you what your kids are up to.